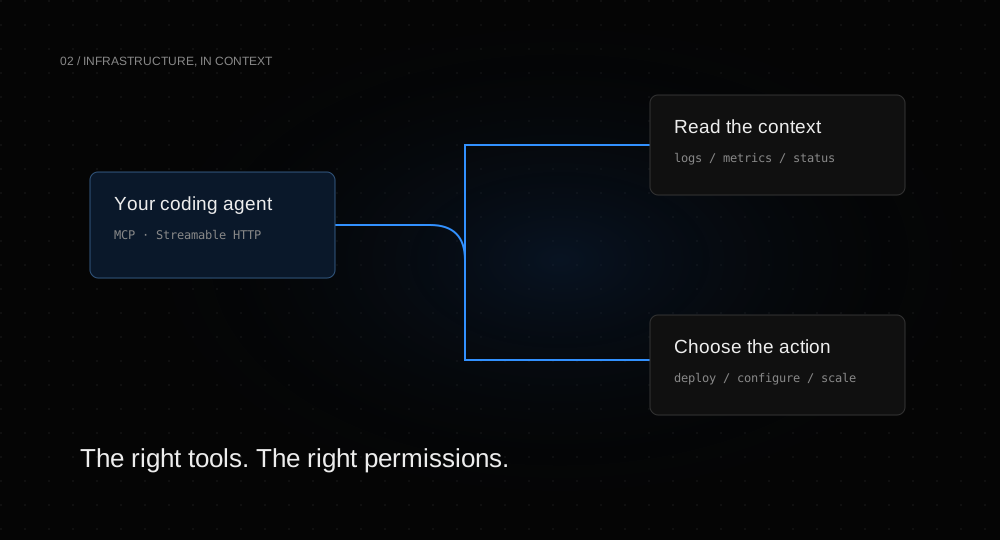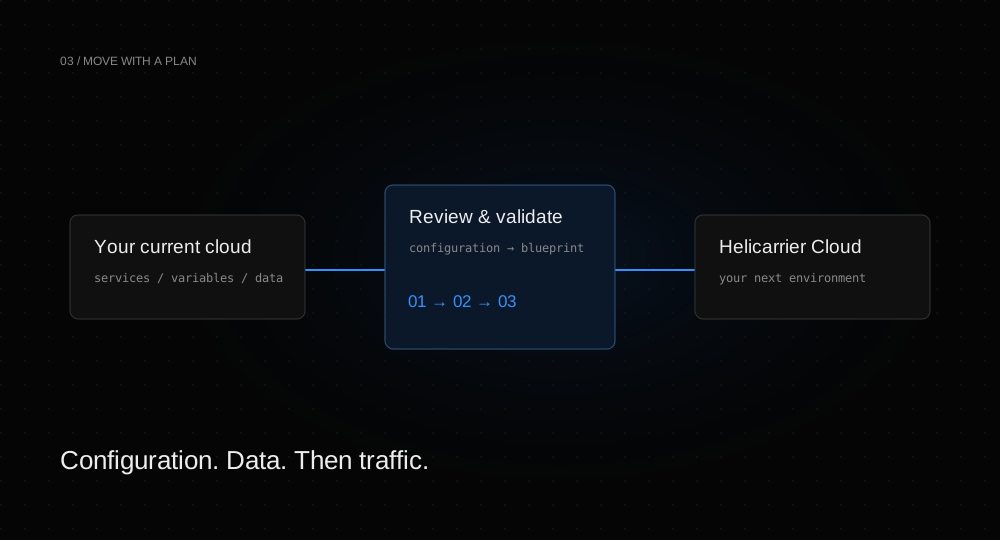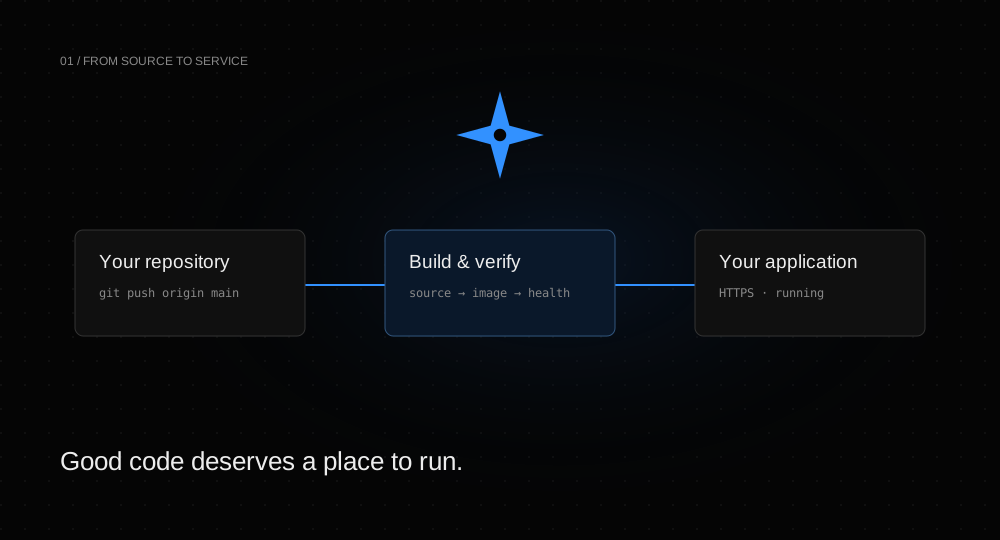
A running web application is more than a build that passed. It needs configuration, a connection to its data, a reachable endpoint, and a way to understand what happens after release. This guide takes you through that sequence on Helicarrier Cloud.
1. Give the application a project.
Sign in, create a project, and choose the environment you want to deploy into. A project holds the services that belong together; environments let you separate stages of development. For a first deploy, the default environment is a sensible place to start.
From the new-service menu, connect GitHub and select your repository. Review the branch and root directory. If your application is in a monorepo, the root directory should point at the application rather than at unrelated packages.
2. Make the build explicit where it matters.
Helicarrier can build supported runtimes with Railpack, or use your Dockerfile. Auto-detection gets many projects started, but check the install, build, and start commands against what your application actually needs.
A web service must listen on the configured internal port and bind to 0.0.0.0. Listening only on localhost inside the container is a common reason an otherwise successful build cannot receive traffic.
// Example Express entry point
import express from "express";

const app = express();
app.get("/health", (_req, res) => res.json({ ok: true }));

const port = Number(process.env.PORT || 3000);
app.listen(port, "0.0.0.0");
Set the service’s internal port to match your application. Add a health-check path such as /health when appropriate. Your health endpoint should tell the platform whether the candidate can accept traffic.
3. Add PostgreSQL and connect it.
Create a PostgreSQL service in the same project. Choose its plan, version, and storage capacity, then wait for it to become ready. Use a service reference to expose the database connection URL to your web service as DATABASE_URL.
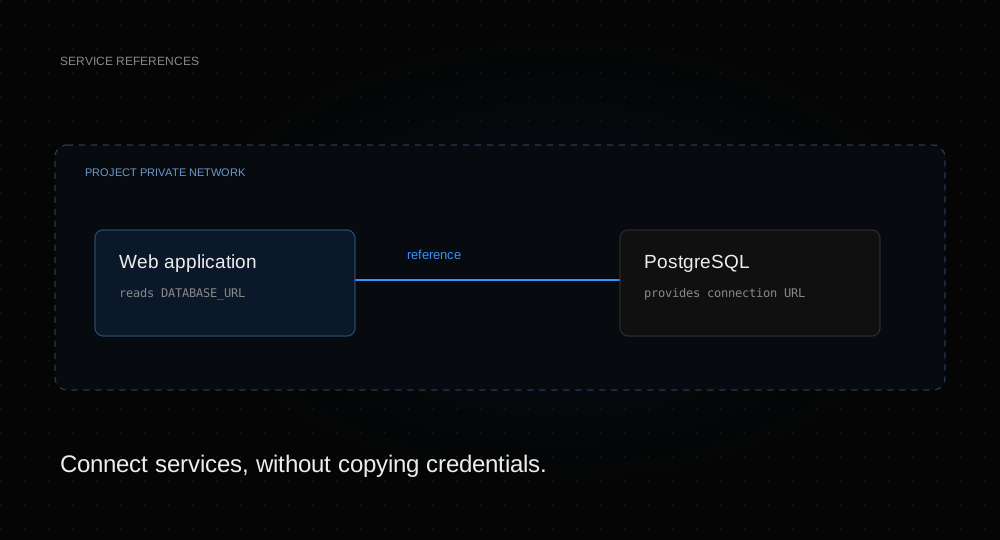
Keep the database private unless an external tool needs access. Your deployed application can connect through the project’s private network. If you enable external access, review supported TLS settings and restrict source addresses with an allowlist.
4. Run migrations deliberately.
For applications that need a schema migration before a release, configure a release command. It runs as part of the deployment workflow. Keep migrations compatible with the running version whenever possible: changing code and changing data are different operations, and an application rollback does not undo a schema change.
5. Inspect the first deployment.
Follow build output and then runtime logs. Open the generated service URL, exercise the routes your users need, and verify that database reads and writes work. Use metrics to spot memory pressure or unexpected CPU use before increasing traffic.
If the release is unhealthy, inspect the logs and configuration first. For an existing service with an available previous image, deployment history provides a rollback path. Rollback availability depends on the retained image; it does not restore database contents.
6. Give it your domain.
Add a custom domain from the service’s domain settings. Use the DNS target shown for that service, update the records at your DNS provider, and verify them. The platform handles HTTPS once the domain resolves correctly.
You now have a small but complete production stack: source-controlled application code, a managed database, explicit configuration, and a public endpoint. Continue with the quickstart or the build and runtime reference for the exact settings.